
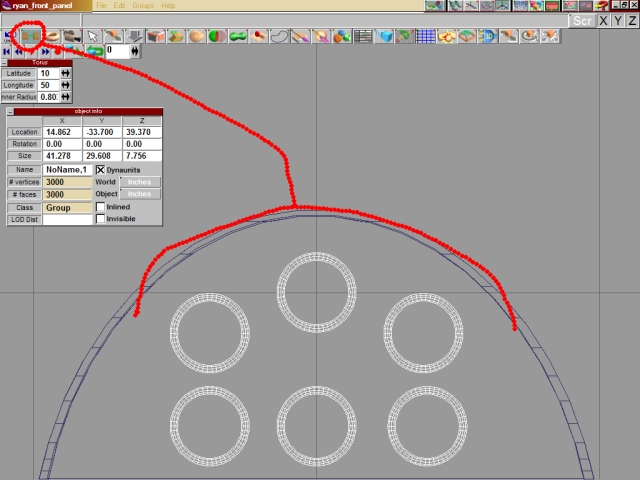
To help in placing the gauges uniform use the Object Info menu, to bring it up right click on the Object Selection icon. Write down the coordinates in the Location boxes for the X and Y coordinates, don't worry about the Z. X will move it left (+) to right (-), Y will move it up (+) or down (-).
The coordinates of the highlighted gague are
X = 14.862 Y = -33.700
to make the gauge to the right of it on the other side of the centerline unifrom the coordinates would be
X = -14.862
Y = -33.700 (note the (-)
in front of the 14.862)
Once you have everything lined up choose the Glue tools and glue all the gauge faces together. This might be easier to do from the side view.
If you're not already there change to the Side View. Make sure the gauge face borders are highlighted, then use the View Tools to zoom in and center on the panel face area. Now use the Object Move tools to move the gauge face borders into position. You'll need to drag them up and want just a bit of the borders to stick out past the panel face.

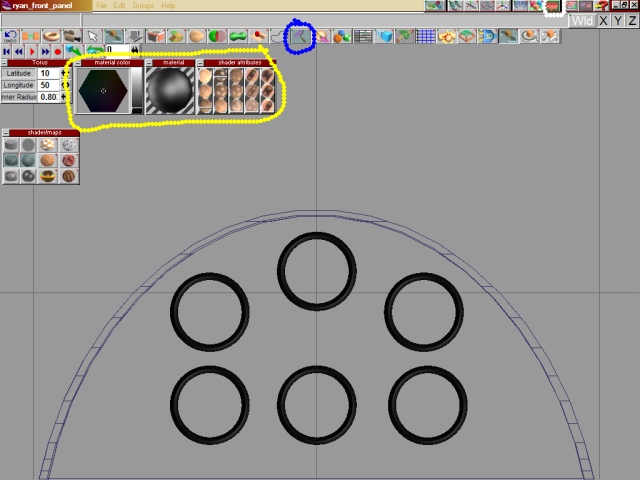
Change to the Top View, use the Paint Tool and paint the gauge borders, I just used a shiny black, be creative, what color borders would the gauges have in your Ryan? Experiment with the Shader Attributes and Shader Maps to get what you want.
Now hit the Render Icon and see what you get!
