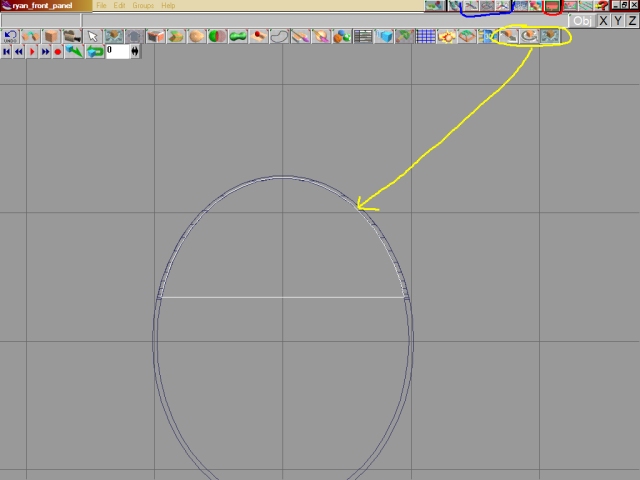
Change to the Top View and use the View tools to center and zoom. Now use the Object Tools to move the panel face into place.
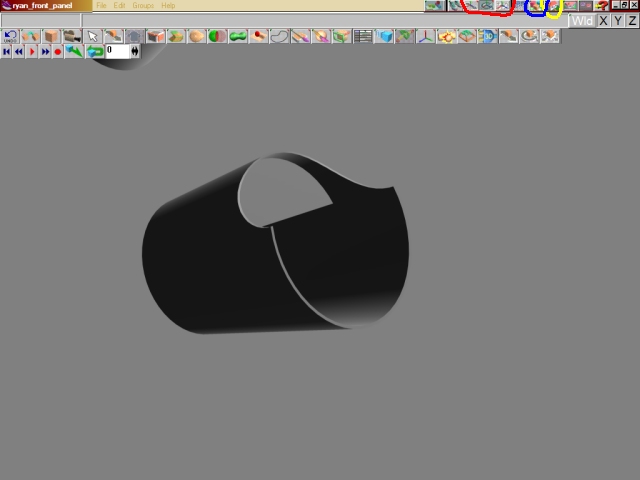
Change to the Perspective view and use the View tools to get the angle you want, then Render the scene.
Change back to the Top View, use the View tools to position, zoom and center the panel. What you are doing here is setting the view for the panel as it will appear in the sim. Play around with the paint tools, slider options, add textures etc. right click on the render icon to bring up the render options menu again and change the Background Color to 0,0,0. Click on the render icon and take a look at your panel face.
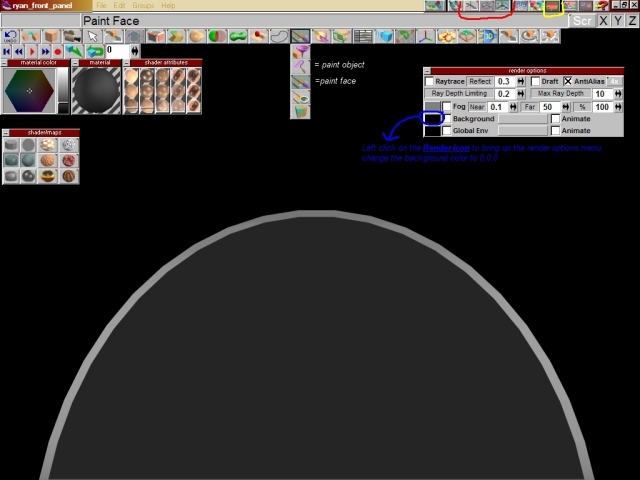
Looking at the image of the panel the gauge face borders have rounded
edges with four screws around them. this
link will take you to a tutorial on how to make screws for a panel,
once you've done that come back here and we're ready to continue.

Lets start by making the border of the gauge face. Since the edges are round lets use a torus from the Primitive Shapes menu. Right click to bring up the properties for the torus and set them like the are in the image. Left click to create the torus, you'll only see the very top of the torus but don't move the view any. Right click on the Object Selection icon to bring up the object info page. In the X and Y boxes in the size category enter 11.0 and 11.0 in each. The top of the torus will go away, just use the Object Move tool and the left mouse button to drag it back into view (up) and position it.
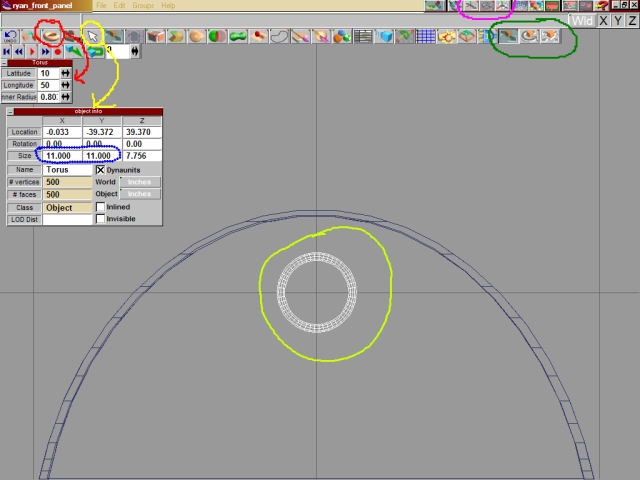
Using CTRL+C make copies of the torus and postion the copies on the panel for the rest of your gauges using the Object Move tools. I'm not placing the gauges exactly as they are in the image....HEY, it's your panel so put them where you want to!!! :)
