Some of the images will have the descriptive text directly on the image, others you will need to reference the Colored Text to the matching colored highlight on the image
To get your copy of Truespace 3.2 go here
http://www.iomega-activedisk.com/servlet/moonshine/goto?page_url=/titles/title_detail.jsp&title_id=140
You'll also need a graphics program. I use Paint Shop Pro version 6.0, it does what I need and I didn't have to sell one of my kids to buy it (saving that for when I buy a plane!!)
The conversion files you'll need for creating PBM/PBG files and some other useful tools are contained in this ZIP file , just download it and unzip the file to your C: drive root, all the tutorials batch files will reference the tools at this location.
OK, lets make a panel! :)
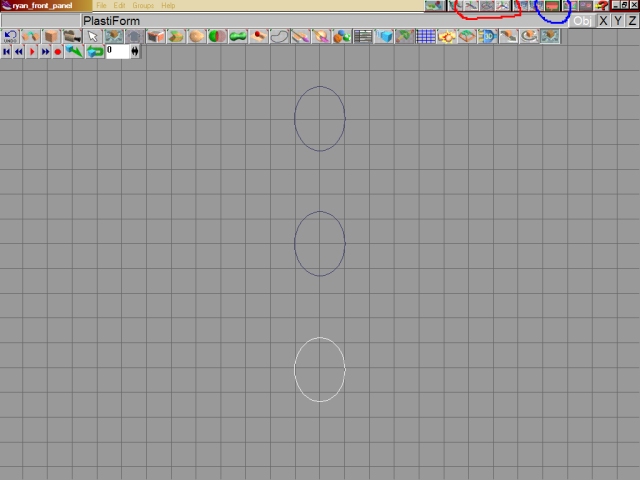
This is the panel from a Ryan ST, only a few gauges and a simple shape, perfect for a tutorial :)

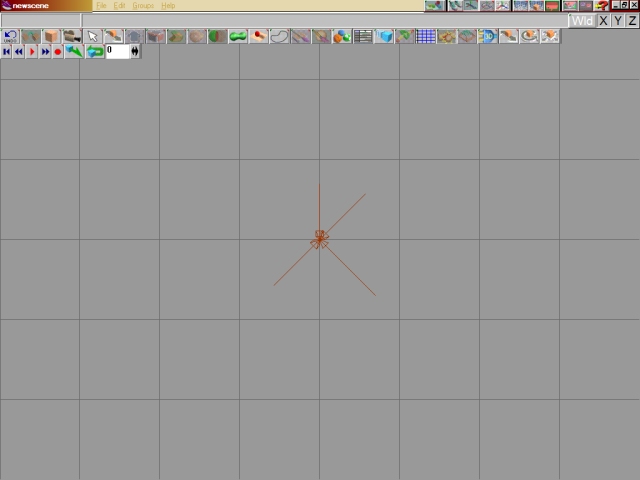
This is what 3.2 will look like for a New Scene
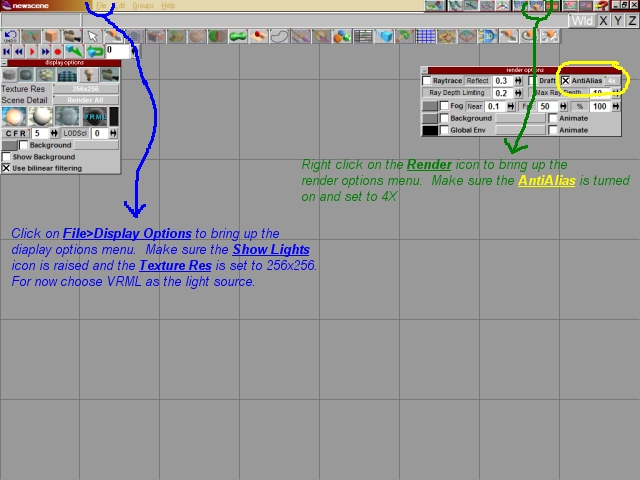
Before we start on the panel make the adjustments below to the scene. After you make the adjustments click File>Scene>Save and save the scene as ryan_panel.scn
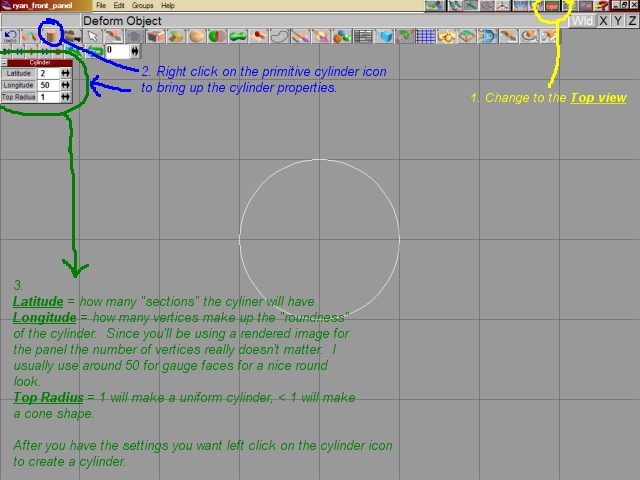
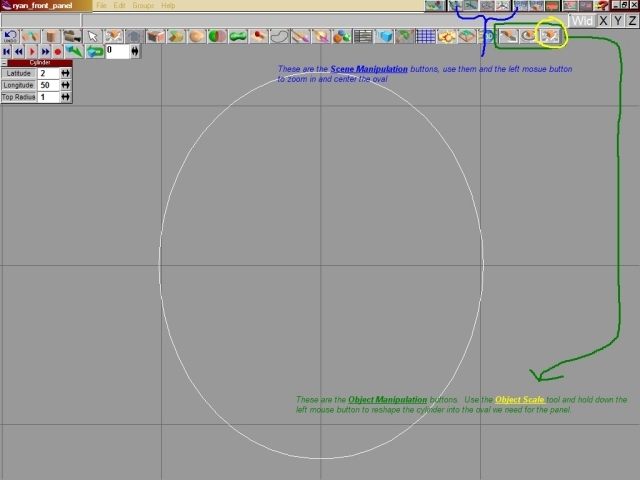
Looking at the picture we need an oval shape for the cockpit and panel. Follow the steps below to create a cylinder to get started.
The next steps you are going to start "manipulating" objects and views. This might be a good time to save this scene and start a new one with just a primitive object. Take the time to learn how to use the Scene Manipulation and Object Manipulation buttons, they're going to be your best friends! Once you have chosen which function of these you want to use, hold down the right mouse button to use them. Once you have mastered how to use these, change the cylinder to an oval by using the Object Scale tool.
Once you have transformed the cylinder to an oval change to the Side View. Press CTRL+C to copy the cylinder, then use the Object Move tool to put the newly copied cylinder off to the side. Do this again and move the new cylinder to the other side.
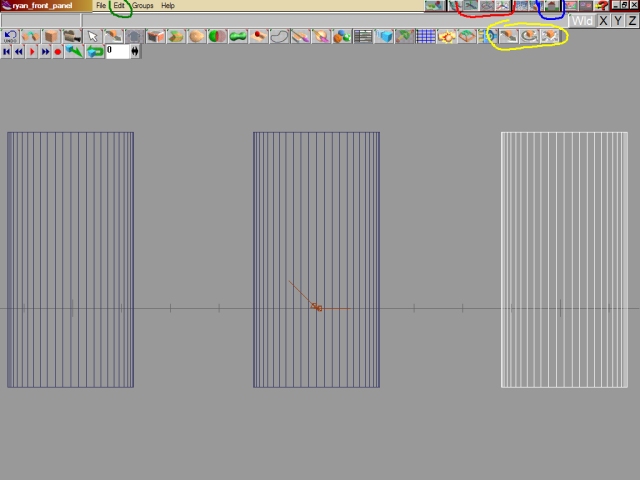
Change to the Top View then use the View tools to zoom out so you can see all three cylinders.